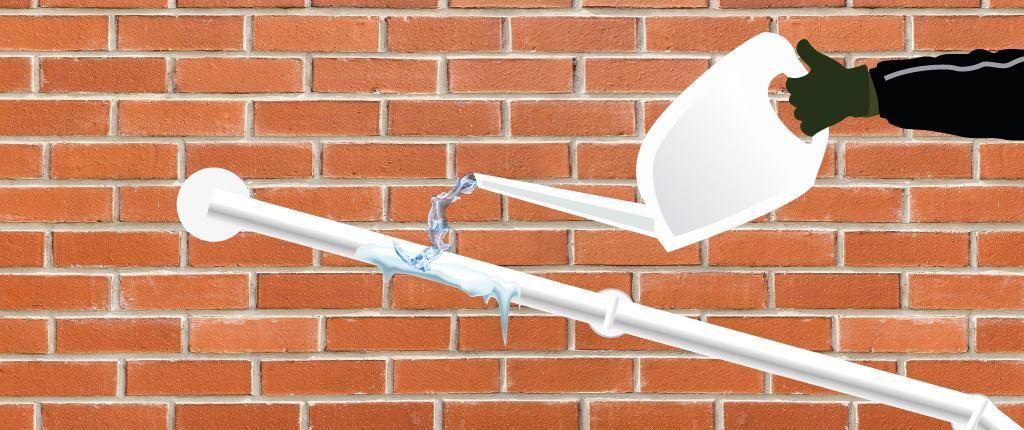
How to repair a dripping tap
How to repair your dripping tap

Repairing a dripping tap depends on the tap type. there are 3 main types of tap repairs and these are O ring, cartridge and ceramic disc.
To Repair your tap with an O ring:
1. Turn off the water supply: Locate the isolation valve under the sink or near the tap, and turn it off to stop the flow of water.
2. Prepare your tools: You'll need an adjustable wrench, screwdriver, and possibly some plumber's tape or a replacement O-ring or washer.
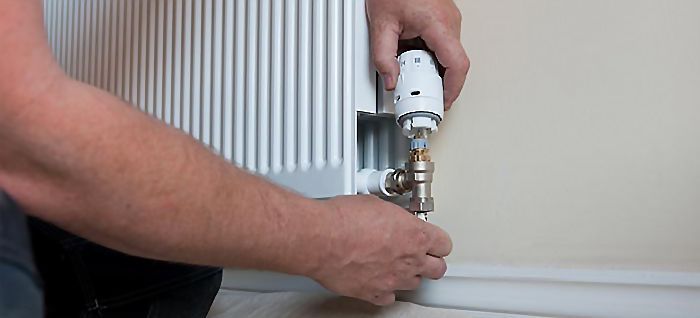
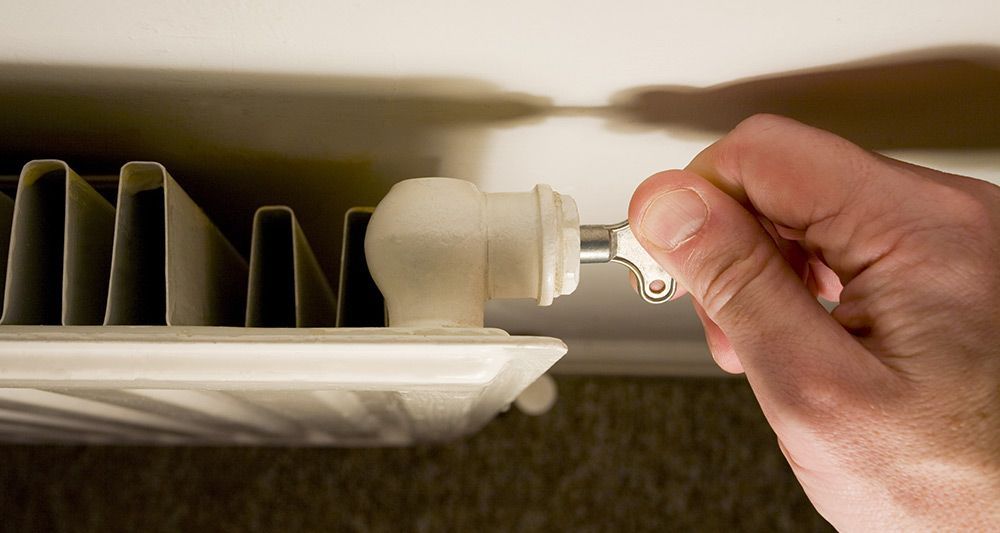
3. Remove the tap handle: Look for the screw or nut holding the tap handle in place. Use the appropriate tool (often a screwdriver or adjustable wrench) to loosen and remove it. If there is a decorative cap covering the screw, gently pry it off with a flat-head screwdriver.
4. Access the cartridge or valve: Once the handle is removed, you should see the cartridge or valve that controls the water flow. Depending on the tap style, you may need to unscrew or twist off a cover to access it.
5. Inspect and replace the washer or O-ring: Check the condition of the washer or O-ring inside the cartridge or valve. If it appears worn, damaged, or deteriorated, it should be replaced. Remove the old washer or O-ring and insert a new one of the same size and type. If necessary, use plumber's tape to ensure a good seal.
6. Reassemble the tap: Once the new washer or O-ring is in place, reassemble the tap in the reverse order of disassembly. Make sure all parts fit snugly and are aligned correctly.
7. Turn on the water supply: Once everything is reassembled, turn on the water supply slowly to check for leaks. If the tap still drips, tighten any fittings or components as needed. If the dripping persists, it may indicate a more significant problem that requires professional attention.

To replace a tap cartridge;
Replacing a tap cartridge is a relatively straightforward process that can be done with a few simple steps. Here's a guide on how to replace a tap cartridge:
1. Gather necessary tools: You'll need an adjustable wrench, screwdriver, and a new tap cartridge that matches your existing one. It's best to consult the manufacturer's instructions or the tap's documentation to ensure you have the correct replacement cartridge.
2. Turn off the water supply: Locate the isolation valve under the sink or near the tap, and turn it off to stop the flow of water. It's important to verify that the water supply is completely shut off before proceeding.
3. Remove the tap handle: Look for the screw or nut holding the handle in place. Use an appropriate tool, such as a screwdriver or adjustable wrench, to loosen and remove it. If there is a decorative cap covering the screw, gently pry it off with a flat-head screwdriver.
4. Access the cartridge: Once the handle is removed, you should see the cartridge assembly. Depending on the tap design, you may need to unscrew or twist off a cover or collar to access it.
5. Remove the old cartridge: Locate and carefully remove any retaining clips or screws securing the cartridge in place. With the appropriate tool, gently pull the cartridge straight out of the tap body. Take note of the cartridge orientation for proper replacement.
6. Install the new cartridge: Take the new cartridge, ensuring it matches the type and model of your old one. Align the cartridge properly, making sure any keying or grooves match the tap body. Push the cartridge firmly into place, ensuring a snug fit.
7. Reassemble the tap: Once the new cartridge is properly installed, reassemble any retaining clips or screws to secure it in place. Ensure the cartridge is properly aligned with the handle mechanism.
8. Reattach the tap handle: Place the tap handle back onto the valve stem, aligning it with any indicators or markings. Use your tool to tighten the screw or nut securely. If there was a decorative cap, gently snap it back into place.
9. Turn on the water supply: Once everything is reassembled, turn on the water supply slowly to check for any leaks. Make sure to check the tap thoroughly, including around the area where the new cartridge was installed.
10. Test the tap: Once the water supply is back on, turn on the tap and check for any leaks or irregularities in the water flow. If everything looks and functions properly, you have successfully replaced the tap cartridge.
Remember, if you encounter any difficulties or aren't confident in your plumbing skills, it's best to consult a professional plumber for assistance. Plumbing systems can vary, so following the specific instructions provided by the tap manufacturer or seeking professional help ensures proper installation and prevents further damage.
To replace a tap ceramic disc;
To replace a tap ceramic disc, you will need the following tools: an adjustable wrench, a screwdriver, and a replacement ceramic disc specific to your tap model. Follow the steps below:
1. Turn off the water supply: Locate the isolation valve under the sink or near the tap and shut it off to stop the water flow. Make sure the water supply is completely closed before proceeding.
2. Remove the tap handle: Look for the screw or nut securing the handle in place. Use a screwdriver or adjustable wrench to loosen and remove it. If there is a decorative cap covering the screw, carefully pry it off using a flat-head screwdriver.
3. Access the ceramic disc: Once the handle is removed, you should see the cartridge housing or valve unit. Depending on your tap design, you may need to unscrew a cover or collar to access the ceramic disc.
4. Remove the old ceramic disc: Locate the ceramic disc inside the valve unit. It is usually secured with screws or retaining clips. Unscrew or remove these to release the old ceramic disc. Note the orientation of the disc for proper replacement.
5. Install the new ceramic disc: Take your new ceramic disc, ensuring it matches the specific model of your tap. Set it in place within the valve unit, aligning any notches or grooves properly to ensure it fits correctly.
6. Reassemble the tap: Once the new ceramic disc is in place, reattach the screws or retaining clips to secure it. Ensure the disc is properly aligned with any grooves or indicators.
7. Reattach the tap handle: Place the tap handle back onto the valve stem, aligning it with any markings or indicators. Use your tool to tighten the screw or nut securely. If there was a decorative cap, snap it back into place.
8. Turn on the water supply: Slowly turn on the water supply and check for any leaks around the area where the ceramic disc was replaced. Examine the tap thoroughly to ensure no water is escaping.
9. Test the tap: Turn on the tap and check the water flow and temperature. Verify that the tap handle operates smoothly and there are no leaks or irregularities in the water flow.
If you encounter any difficulties or aren't confident in your plumbing skills, it is recommended to consult a professional plumber for assistance. Different tap models may have specific steps and variations, so following the manufacturer's instructions or seeking professional help ensures proper installation and prevents further damage.